
Checked and updated for accuracy on 02/05/23
Nervous about taking your dental impression? If you mess up your dental impression don’t hit the panic button!
We make taking your dental impression quick, easy and stress free. Follow our video as we take our impression together. If your first dental impression doesn’t go very well, simply contact us. We will ship out a new dental impression kit to you free of charge.
At Sentinel Mouthguards, we want to see you smile! Remember, do not take a dental impression if you have loose teeth, loose dental work or braces. Seriously, putty and braces do not mix.
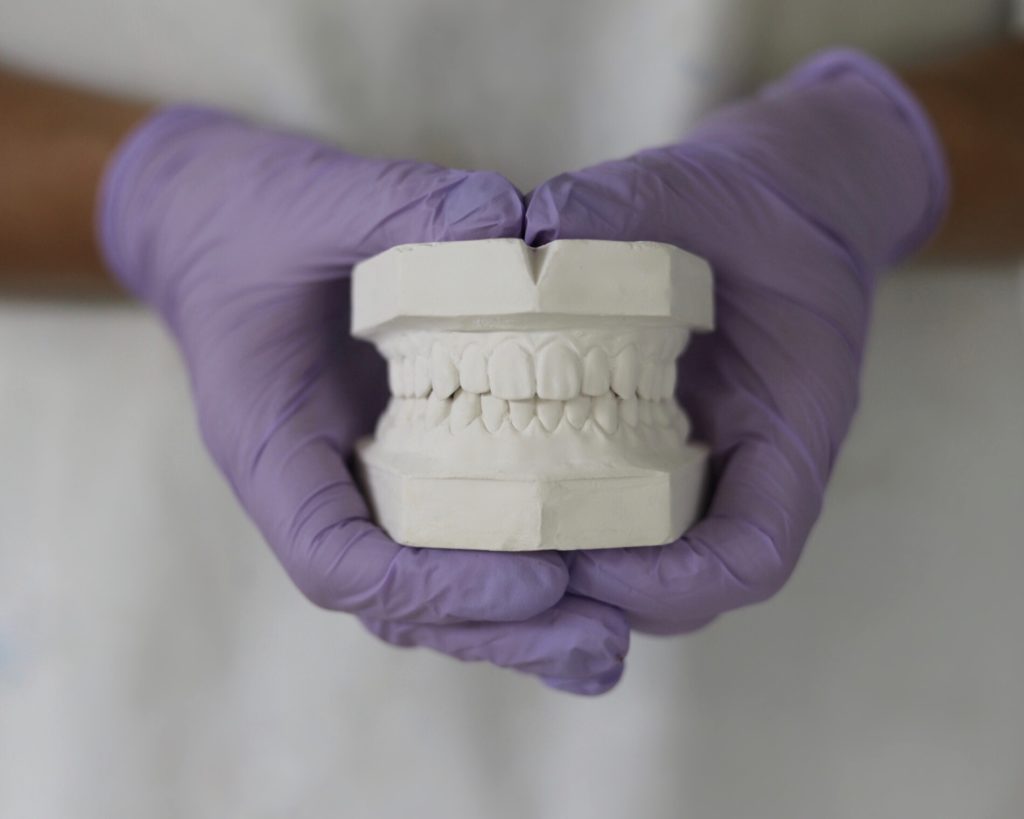
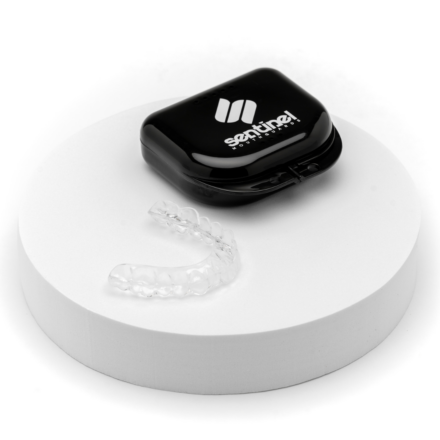
What does a great dental impression look like?
A great dental impression captures a clear representation of the anatomy of your teeth and gum margin. It should be free of distortion and you should not be able to see the tray through the putty.
A great dental impression should exhibit several key characteristics:
- Accuracy: The impression should accurately capture the contours, shape, and details of your teeth and surrounding oral tissues. It should provide an exact replica of your mouth to ensure a precise fit for any dental appliances or restorations.
- Clear and defined margins: The impression should clearly delineate the margins where the teeth meet the gums. This is crucial for ensuring a proper fit of dental crowns, bridges, or other prosthetic restorations.
- No distortions or bubbles: The impression should be free from distortions, tears, or bubbles that could compromise its accuracy. Any defects or irregularities in the impression could result in an ill-fitting dental appliance.
- Complete coverage: The impression should encompass all the necessary teeth and oral structures, as directed by the specific purpose of the impression. It should accurately capture the upper and lower arches, as well as any areas of interest, such as bite registration or specific tooth preparations.
- Proper depth: The impression should have adequate depth to ensure that it captures the necessary details of your teeth. It should extend beyond the gumline to include a portion of the surrounding soft tissues, allowing the dental professional to assess the relationship between the teeth and gums accurately.
- No distortion during removal: When removing the impression tray from your mouth, there should be no distortion or tearing of the impression material. If removed at the correct time, the material has adequately set and that the impression is stable.


-
Product on sale
 No-Show Day Mouth GuardOriginal price was: $149.00.$129.00Current price is: $129.00.
 -
Product on sale
 Durability Mouth Guard for Heavy Teeth GrindingOriginal price was: $215.00.$189.00Current price is: $189.00.
 -
Product on sale
 Tongue and Cheek Biting Relief Mouth GuardsOriginal price was: $189.00.$169.00Current price is: $169.00.
 -
Product on sale
 Custom Hard Night GuardOriginal price was: $169.00.$149.00Current price is: $149.00.
 -
Product on sale
 Custom Soft Night GuardOriginal price was: $149.00.$129.00Current price is: $129.00.
 -
Product on sale
 Custom Dual Laminated Night GuardOriginal price was: $169.00.$149.00Current price is: $149.00.
Common Dental Impression Mistakes:
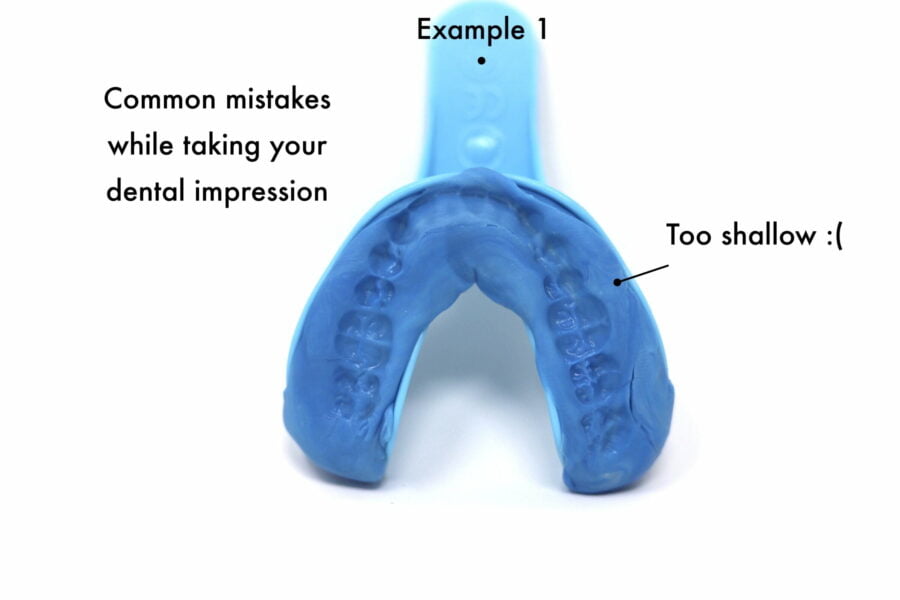
To ensure proper depth when taking a dental impression all the whites of the teeth need to be submerged:
- Use Adequate Material: Ensure you have enough impression material to fully cover the teeth without leaving any gaps.
- Positioning: Make sure your mouth is open wide enough to accommodate the tray with impression material and that the tray is properly seated over the teeth.
- Uniform Pressure: Apply consistent pressure when seating the tray to ensure even distribution of the impression material.
- Timing: Follow the instructions for the setting time of the impression material to avoid premature removal.
- Verification: After setting, visually inspect the impression to ensure all teeth are adequately captured and no areas are shallow or incomplete.

Here are some tips for avoiding hitting the tray with teeth during the impression-taking process:
- Proper Tray Size: Ensure the tray size is appropriate for your mouth to minimize the likelihood of hitting the tray with teeth. When in doubt, choose the size up. Avoid a tray that is too small.
- Relaxed Jaw Position: Relax the jaw muscles during the impression process to reduce the chances of clenching or biting down on the tray.
- Practice inserting and removing the tray: Before you attempt to take your impression, practice familiarizing yourself with placement of the tray. Pretend there is putty in the tray and practice tray insertion and removal several times before attempting to take your impression.
- Gag Reflex Management: If gagging is a concern, utilize techniques such as controlled breathing or distraction to help minimize the reflex and prevent accidental biting of the tray.

2. Time Sensitivity: It’s important to work quickly once the two putties are combined. The putty begins to set once mixed, so prompt application is crucial for an accurate impression.
Most common errors when taking your own dental impression
- Attempting to take your dental impression before reading through all of the material and watching the video. Be sure to read our how it works page, and take a look at the instructions you receive in the mail first.
- Taking too long to mix the dental putty. As a result, the putty becomes hard before you submerge all of your teeth. Remember to set a timer and watch your time! Mix quickly and thoroughly for 40 seconds to 1 minute. Roll the putty quickly into a hot dog shape and place it in the tray. With your finger, smooth out the areas as needed so you have a nice, equally-distributed surface before submerging your teeth.
- Misjudging the tray position and hitting your teeth on the plastic wall. Here’s a great tip: practice taking the empty tray in and out of your mouth several times before actually taking your dental impression. Stand in front of a mirror and pretend that the tray is already filled with dental putty. Try to keep the tray as straight as possible. Place the tray in your mouth and then push the bottom of the tray upwards (in a uniform, even manner). If you’re taking an impression for your lower teeth, follow the same process- You would just press the tray downwards instead of up. Make sure to submerge all of your teeth.
- Moving the tray once the teeth are submerged. This will result in a distorted dental impression, and thus, an ill-fitting mouth guard. Remember to submerge all of the teeth and stay still for the full 3 minutes before taking your teeth impression out. Even if you’re drooling all over–KEEP STILL!
- Taking your tray out too soon. Removing the tray before the putty is completely set can cause some distortion. Remember, 3 minutes!
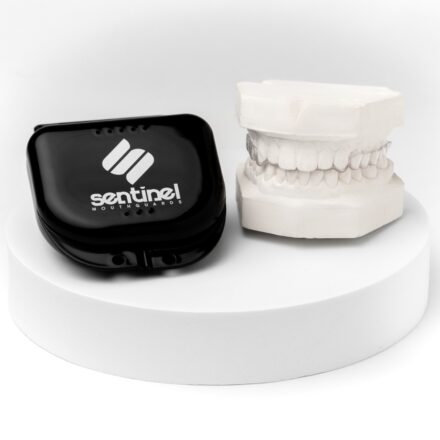
About Sentinel Mouthguards® Dental Impression Kit
Ensuring a precise dental impression is key to our process, and we’re proud to report a remarkable success rate. Over 90% of our customers achieve an accurate impression on their very first attempt. This success hinges on a few key practices.
Firstly, we emphasize the importance of relaxed jaw positioning and gentle pressure during the impression process. By ensuring our customers maintain a slight separation between their teeth, we minimize the risk of accidental contact with the tray.
Furthermore, our team provides clear instructions and guidance throughout, helping individuals navigate the process with ease. Techniques to manage gag reflexes are also offered, ensuring a comfortable experience for everyone.
Once we receive your impeccable impression, we store it securely in our Sentinel lab for up to one year. This means your dental impression and stone mold are readily available for future use. Whether it’s for a replacement night guard or any other dental appliance, we’ve got you covered, provided your dental anatomy remains consistent.
With our streamlined process and commitment to excellence, you can trust us to deliver precision and convenience every step of the way.
Here’s how it works:
- Ordering the kit: Shop our mouth guard product selection. Every order comes with a dental impression kit. It will be shipped to your address.
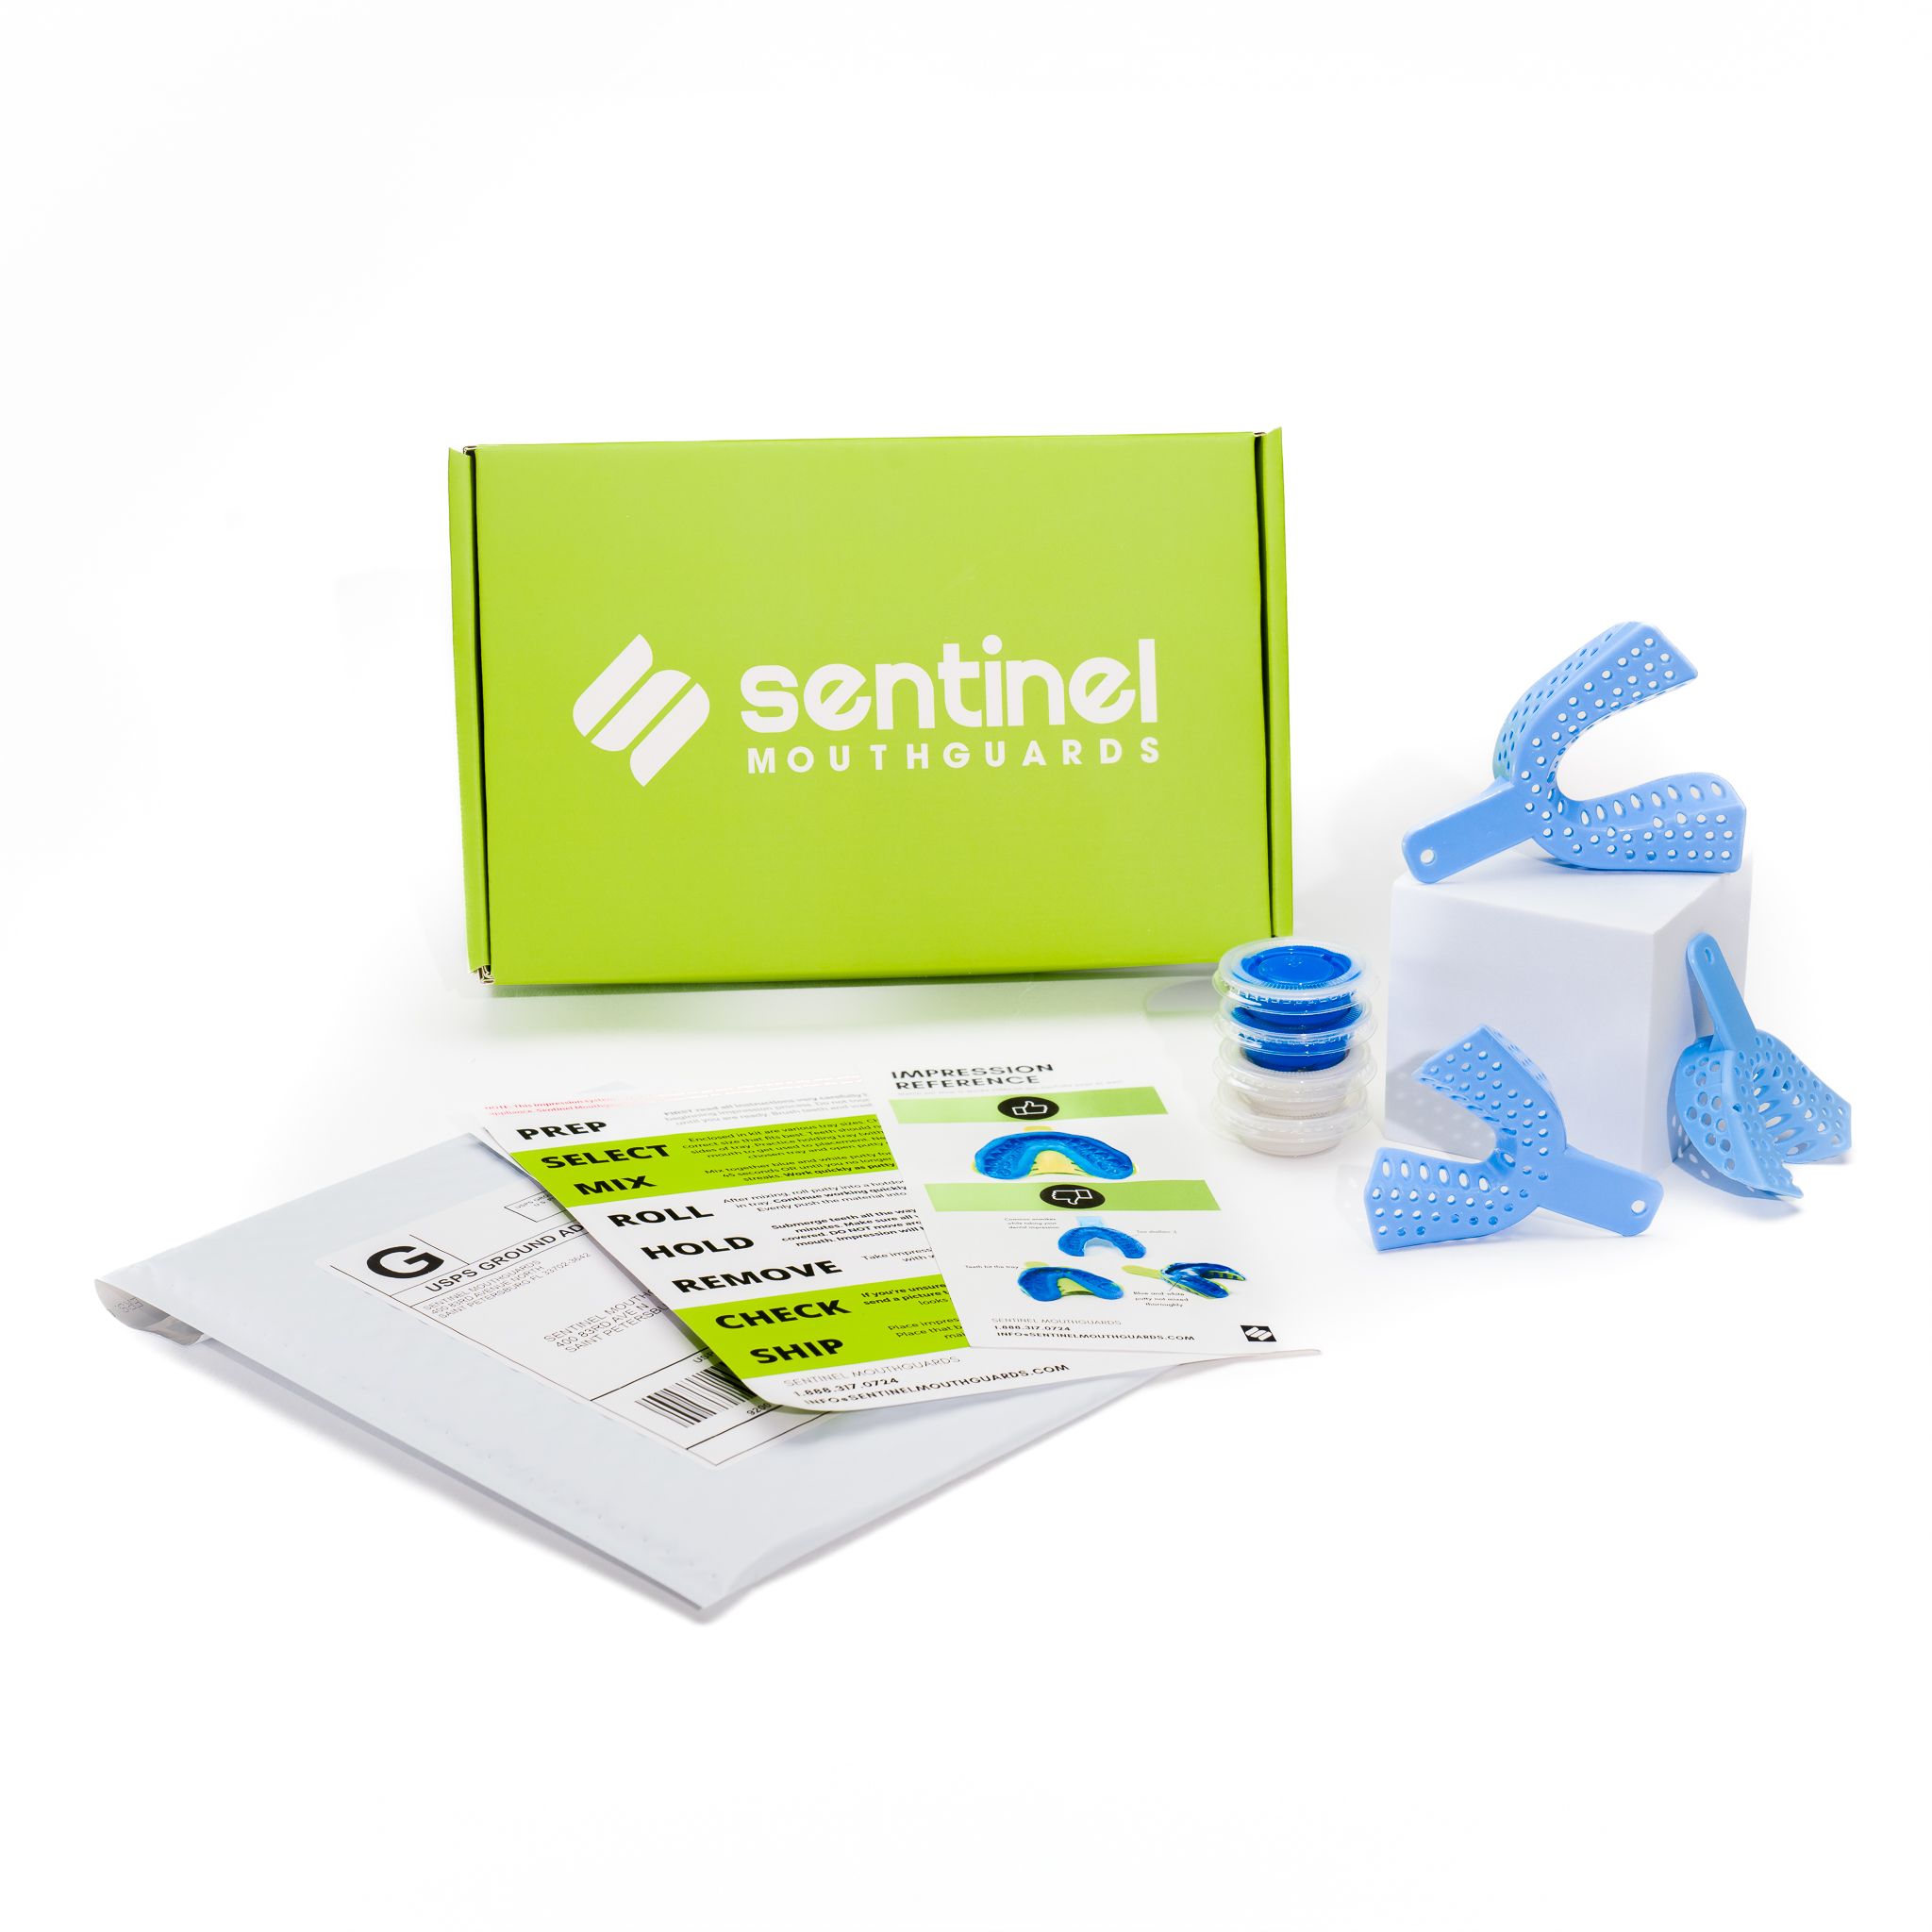
- Receiving the kit: Once the kit arrives, it will include several components, such as impression putty, impression trays, detailed instructions, and a prepaid return shipping label.
- Preparing for the impression: Make sure your teeth are clean and dry before starting the process. Brush and floss thoroughly to remove any debris.
- Mixing the putty: The kit will contain two different putties, a “base” and “catalyst.” Follow the instructions provided with the kit to mix equal amounts of these putties together. Mix them thoroughly until they form a uniform color.
- Loading the impression tray: Take one of the provided impression trays and fill it with the mixed putty. Make sure to distribute the putty evenly and cover the entire tray.
- Inserting the tray: Carefully place the loaded impression tray into your mouth. Ensure it covers your teeth and gums properly. Press it down gently, but firmly, to ensure a good impression. You will need to hold it in place for a few minutes while the putty sets.
- Removing the tray: Once the putty has set, gently wiggle and twist the tray to loosen it from your mouth. Remove it slowly and avoid any sudden movements to prevent distortion.
- Inspecting the impression: Examine the impression for any visible defects or inaccuracies. Ensure that it captured all of your teeth and the surrounding gumline clearly.
- Cleaning and disinfecting the impression: Rinse the impression under running water to remove any debris or saliva. Follow the provided instructions on disinfecting the impression, which may involve soaking it in a disinfectant solution.
- Returning the impression: Place the cleaned impression in the provided container or bag. Fill out any necessary forms or paperwork included in the kit. Attach the prepaid return shipping label to the package and send it back to Sentinel Mouthguards.
- Receiving your custom mouthguard: After receiving your impression, Sentinel Mouthguards will use it to create a custom mouthguard specifically tailored to fit your teeth. We will then ship the completed mouthguard to your address.