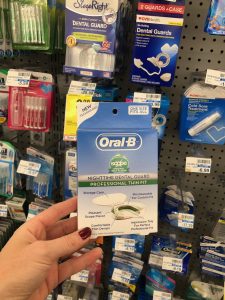
We’ve all experienced it before. Standing in the dental hygiene section of Walmart, holding an Oral-B Night Guard in one hand and a Doctor’s Choice Night Guard in the other, we can’t help but question if either of these over-the-counter mouthguard brands will truly deliver.
Will we be throwing away $30 on a useless product? Memories of our recent dental office visit come flooding back, and we can’t help but scoff at the exorbitant $600 quoted by the dentist. Fed up with the thought, we give a hesitant shrug and make our way to the cashier, hoping that our choice will turn out for the best.
Will a night guard purchased from Walmart actually work?
When it comes to safeguarding our teeth during sleep, night guards have become an increasingly popular solution. Whether you grind your teeth or suffer from temporomandibular joint (TMJ) disorder, a well-fitting night guard can offer much-needed relief and protection. However, the decision-making process can be overwhelming, especially with the array of options available in the market.
In this article, we will explore the comparison between night guards offered by Walmart, a renowned retail giant, and custom-made night guards obtained through dental professionals. By weighing the pros and cons of each approach, we aim to help you make an informed choice that suits your specific needs and budget.
Join us as we delve into the world of night guards, shedding light on the key factors to consider when selecting the right option for your dental health. From the convenience and affordability of Walmart night guard brands to the precise fit and personalized approach of custom-made night guards, we will examine the benefits and drawbacks of both alternatives.
Walmart Night Guard Brands
When it comes to night guards, Walmart offers a range of affordable options that are readily available and easily accessible. The convenience of being able to purchase a night guard during your routine Walmart visit is undoubtedly appealing. With a variety of brands and designs to choose from, you can find a night guard that fits within your budget.
However, it’s important to note that while these Walmart night guard brands may be cost-effective, they often come with limitations that can leave customers dissatisfied. Factors such as fit, comfort, and durability may not be as optimal as with custom-made night guards. It’s crucial to carefully consider these trade-offs and assess whether the lower cost outweighs potential drawbacks in order to make an informed decision about your dental protection.
Custom-Made Night Guards
When it comes to night guards, custom-made options offer a personalized approach to dental protection. By having a dental professional make your custom night guard, you can benefit from a night guard that is specifically tailored to fit your unique oral structure and address your individual concerns.
Custom-made night guards are crafted using precise measurements and high-quality materials, ensuring a comfortable and secure fit. This level of customization not only enhances comfort but also maximizes the effectiveness of the night guard in preventing teeth grinding, jaw clenching, and related issues.
While custom-made night guards may come at a higher price point compared to Walmart brands, their durability and long-term effectiveness make them a worthwhile investment for those seeking optimal dental protection. Additionally, the guidance and expertise of dental professionals throughout the process provide peace of mind, knowing that your night guard is professionally designed to meet your specific needs.

-
Product on sale
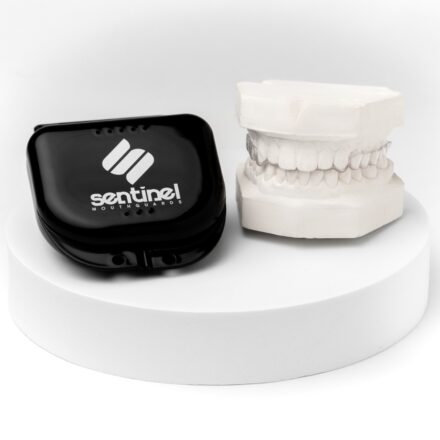 No-Show Day Mouth GuardOriginal price was: $149.00.$129.00Current price is: $129.00.
 -
Product on sale
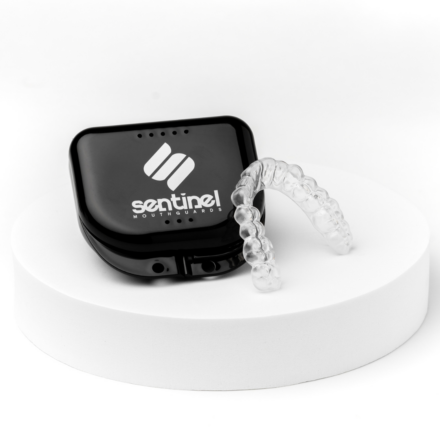 Durability Mouth Guard for Heavy Teeth GrindingOriginal price was: $215.00.$189.00Current price is: $189.00.
 -
Product on sale
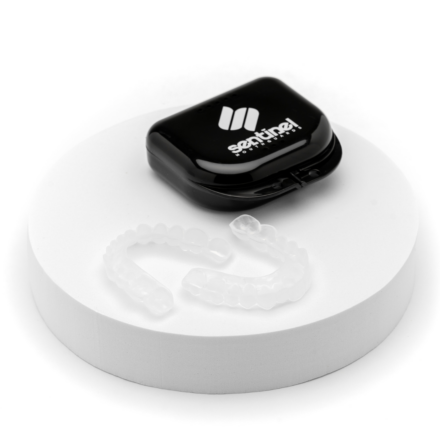 Tongue and Cheek Biting Relief Mouth GuardsOriginal price was: $189.00.$169.00Current price is: $169.00.
 -
Product on sale
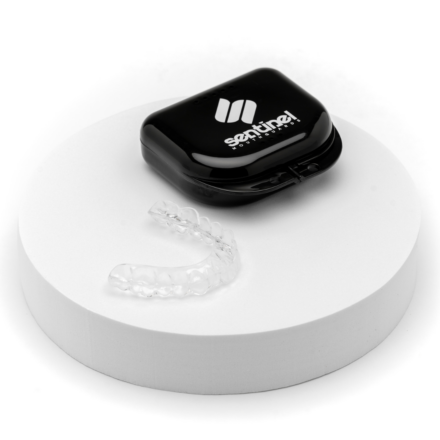 Custom Hard Night GuardOriginal price was: $169.00.$149.00Current price is: $149.00.
 -
Product on sale
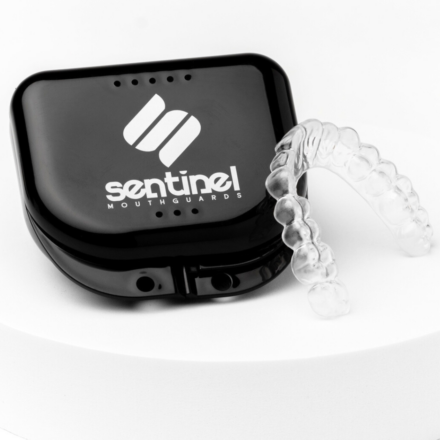 Custom Soft Night GuardOriginal price was: $149.00.$129.00Current price is: $129.00.
 -
Product on sale
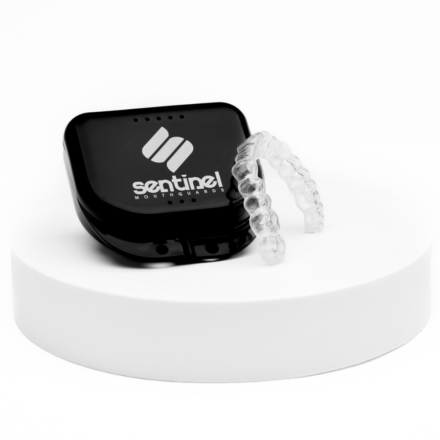 Custom Dual Laminated Night GuardOriginal price was: $169.00.$149.00Current price is: $149.00.
Comparing Walmart Night Guard Brands to Custom-Made Night Guards
When comparing Walmart night guard brands to custom-made night guards, several key factors come into play. Fit and comfort are crucial considerations, as custom-made night guards are specifically tailored to your mouth, ensuring a snug and comfortable fit that minimizes discomfort during sleep. In terms of protection and durability, custom-made night guards are typically made from high-quality materials that withstand regular use, offering long-lasting protection against teeth grinding and jaw clenching.
Effectiveness in addressing specific dental concerns is another factor to consider, as custom-made night guards can be designed to accommodate individual needs, such as addressing TMJ disorder or specific bite alignment issues.
Lastly, while Walmart night guard brands may be more affordable upfront, a long-term cost analysis reveals that custom-made night guards may prove to be a more cost-effective solution, considering their durability and potential avoidance of dental issues down the line. Ultimately, the decision between the two options depends on individual preferences, budget, and the importance placed on personalized fit and long-term dental health.
Case Studies and Customer Experiences
To provide a comprehensive perspective, let’s examine real-life experiences with both Walmart night guard brands and custom-made night guards. Customers who have tried Walmart night guards often mention the convenience of purchasing them at an affordable price.
However, some individuals have reported issues with fit and comfort, finding them less effective in relieving their dental concerns. On the other hand, those who have opted for custom-made night guards often highlight the precise fit and tailored approach that offers superior comfort and protection.
Many individuals have expressed satisfaction with the durability and effectiveness of custom-made night guards in addressing their specific dental issues. Hearing from others who have tried both options can help you gain insights into the pros and cons, aiding your decision-making process as you weigh the trade-offs between convenience and customization.
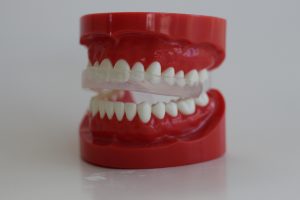
Making an informed choice
When considering the choice between Walmart night guard brands and custom-made night guards, it is essential to evaluate your personal dental needs and goals. Reflect on factors such as the severity of your teeth grinding or jaw clenching, any existing dental conditions, and the level of comfort you desire during sleep.
Additionally, assess your budget and the importance you place on a customized fit and long-term durability. Consulting with dental professionals can provide valuable guidance in determining the most suitable option for your specific situation. They can assess your dental health, discuss your concerns, and recommend the most appropriate night guard solution. By taking these factors into account, you can make an informed choice that aligns with your unique requirements, ensuring optimal dental protection and overall satisfaction.
Is there a mouth guard for sleep apnea?
Yes, there are mouth guards specifically designed to address sleep apnea. These devices, known as mandibular advancement devices (MADs) or oral appliance therapy, are commonly used as an alternative treatment for mild to moderate obstructive sleep apnea (OSA).
MADs work by repositioning the jaw and tongue to help keep the airway open during sleep, reducing the occurrence of apnea episodes and improving breathing. They are custom-made to fit the individual’s mouth and are typically prescribed by a dentist or sleep specialist.
MADs offer several benefits compared to other treatments for sleep apnea. They are non-invasive, portable, and easy to use. Additionally, they are often more comfortable for patients than continuous positive airway pressure (CPAP) machines, which are commonly used for severe cases of sleep apnea.
However, it’s important to note that MADs may not be suitable for everyone, and a proper evaluation and recommendation from a healthcare professional is crucial in determining the most appropriate treatment option for sleep apnea.
Can you buy a mouth guard for sleep apnea from the store?
While there are over-the-counter (OTC) mouth guards available for general teeth grinding or snoring, it is not recommended to purchase an OTC mouth guard for sleep apnea without professional guidance. Sleep apnea is a medical condition that requires a proper diagnosis and personalized treatment plan.
Mouth guards specifically designed for sleep apnea, known as mandibular advancement devices (MADs) or oral appliances, are typically custom-made to ensure an accurate fit and effective treatment. These custom devices are fabricated based on individual dental impressions and are adjusted to the patient’s specific needs. They are prescribed by dentists or sleep specialists who have evaluated the severity of the sleep apnea and the patient’s oral anatomy.
Using an OTC mouth guard for sleep apnea may not provide the necessary level of treatment or could even exacerbate the condition. It’s essential to consult with a healthcare professional who specializes in sleep medicine or dentistry to assess your condition, determine the appropriate treatment, and provide a custom-fit mouth guard tailored to your needs.
Can I buy a Walmart mouth guard for my TMJ?
Walmart offers a range of over-the-counter (OTC) mouth guards that are marketed for general teeth grinding and jaw clenching, which are common symptoms of temporomandibular joint (TMJ) disorders. While these OTC mouth guards may provide some level of relief for mild cases, it’s important to note that TMJ disorders can vary in severity and require proper evaluation and treatment.
OTC mouth guards available at Walmart are generally not specifically designed or customized for TMJ disorders. They are typically “one-size-fits-all” or boil-and-bite type mouth guards that may not address the specific underlying causes or provide optimal relief for TMJ-related symptoms.
If you are experiencing TMJ symptoms, it is advisable to consult with a healthcare professional, such as a dentist or a specialist in TMJ disorders. They can properly diagnose your condition, assess the severity, and recommend appropriate treatment options. A custom-fit mouth guard, designed specifically for your TMJ condition, can be fabricated to provide better alignment and relief for your jaw joint and associated symptoms.
While Walmart mouth guards may offer temporary relief for general teeth grinding or clenching, seeking professional guidance is crucial to address TMJ disorders effectively and ensure the most appropriate treatment for your specific needs.
Can I wear a sports mouth guard for teeth grinding?
Mouth guards for sports are never suggested for nighttime wear. Sports mouth guards are bigger and bulkier. They’re often too uncomfortable to keep in the mouth all night. The thickness can also irritate the jaw and natural bite of the user. A dental night guard should be worn to combat the effects of teeth grinding and jaw clenching. It is advised to avoid wearing a sports mouth guard at night.
Where can I get an affordable custom night guard?
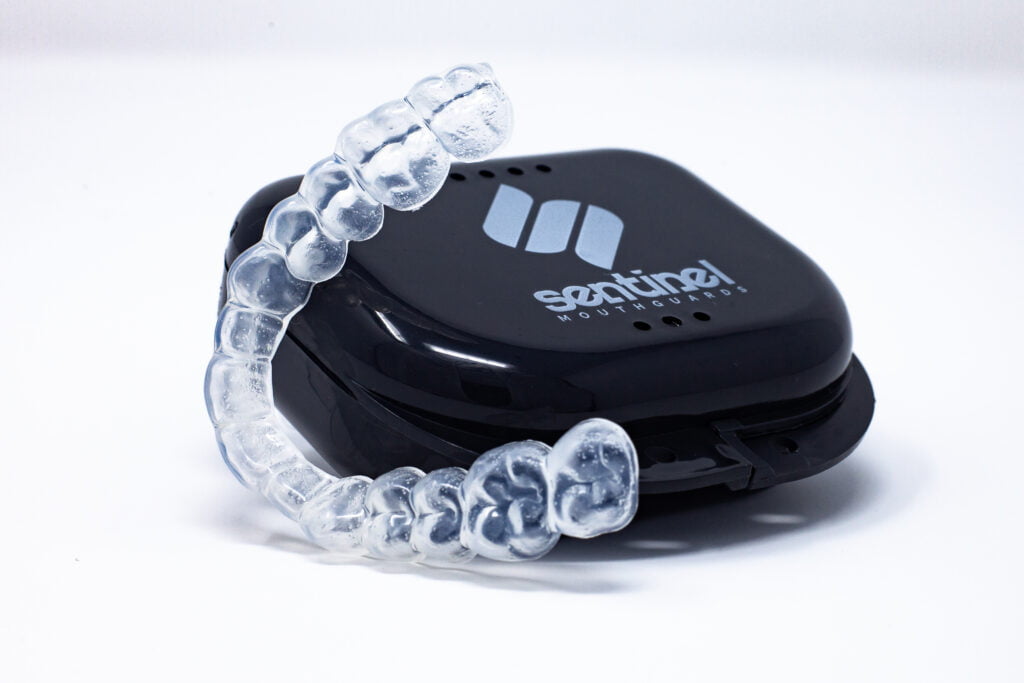
At Sentinel Mouthguards, we are proud to be a top suggestion for those seeking an affordable night guard. As a trusted online provider, we specialize in crafting custom-fit night guards that offer effective protection against teeth grinding and clenching, all at affordable prices. Our priority is to provide high-quality night guards that are tailored to fit your teeth precisely.
Ordering a custom night guard from Sentinel Mouthguards is simple and convenient. You can easily purchase an impression kit from our website, which includes all the necessary materials to create impressions of your teeth from the comfort of your own home. Once you send the impressions back to us, our experienced dental professionals will fabricate a custom night guard based on your unique dental anatomy.
We take pride in offering affordable options without compromising on quality. Our night guards are made using dental-grade materials, ensuring durability, comfort, and long-lasting performance. Customer satisfaction is of utmost importance to us, and we strive to deliver a night guard that meets your specific needs and exceeds your expectations.
While there are various choices available for affordable night guards, Sentinel Mouthguards stands out as a reputable and cost-effective solution. With our custom-fit night guards, you can experience personalized comfort and reliable protection for your teeth.
How does it work?
At Sentinel Mouthguards, we have streamlined our process to provide you with a hassle-free experience in obtaining a custom-fit night guard. First, you can easily order an impression kit from our website, which includes all the materials needed to create accurate impressions of your teeth at home.
Once you’ve made the impressions, simply send them back to us using the pre-paid shipping label provided. Our experienced dental professionals will then fabricate a custom night guard specifically tailored to fit your unique dental anatomy.
We use high-quality dental-grade materials to ensure durability and comfort. Once your night guard is ready, we will promptly ship it to your doorstep. Our goal is to make the process convenient, efficient, and reliable, so you can enjoy the benefits of a custom-fit night guard without any hassle.
We hope you have found this article useful! If you have had experience with custom made night guards or store bought night guards and would like to share your story, please use the comment section below!
We would love to chat with you. Visit our help center today!

